Wondering what to do with a whole chicken? Below are some flavorful ideas for utilizing every last scrumptious morsel of those healthy, plump, nutrient-packed…
Note: Whole chickens take two to three days to thaw, depending on the size and the temperature of your refrigerator. The USDA recommends always thawing meat in the refrigerator.
The Main Meal… Meat
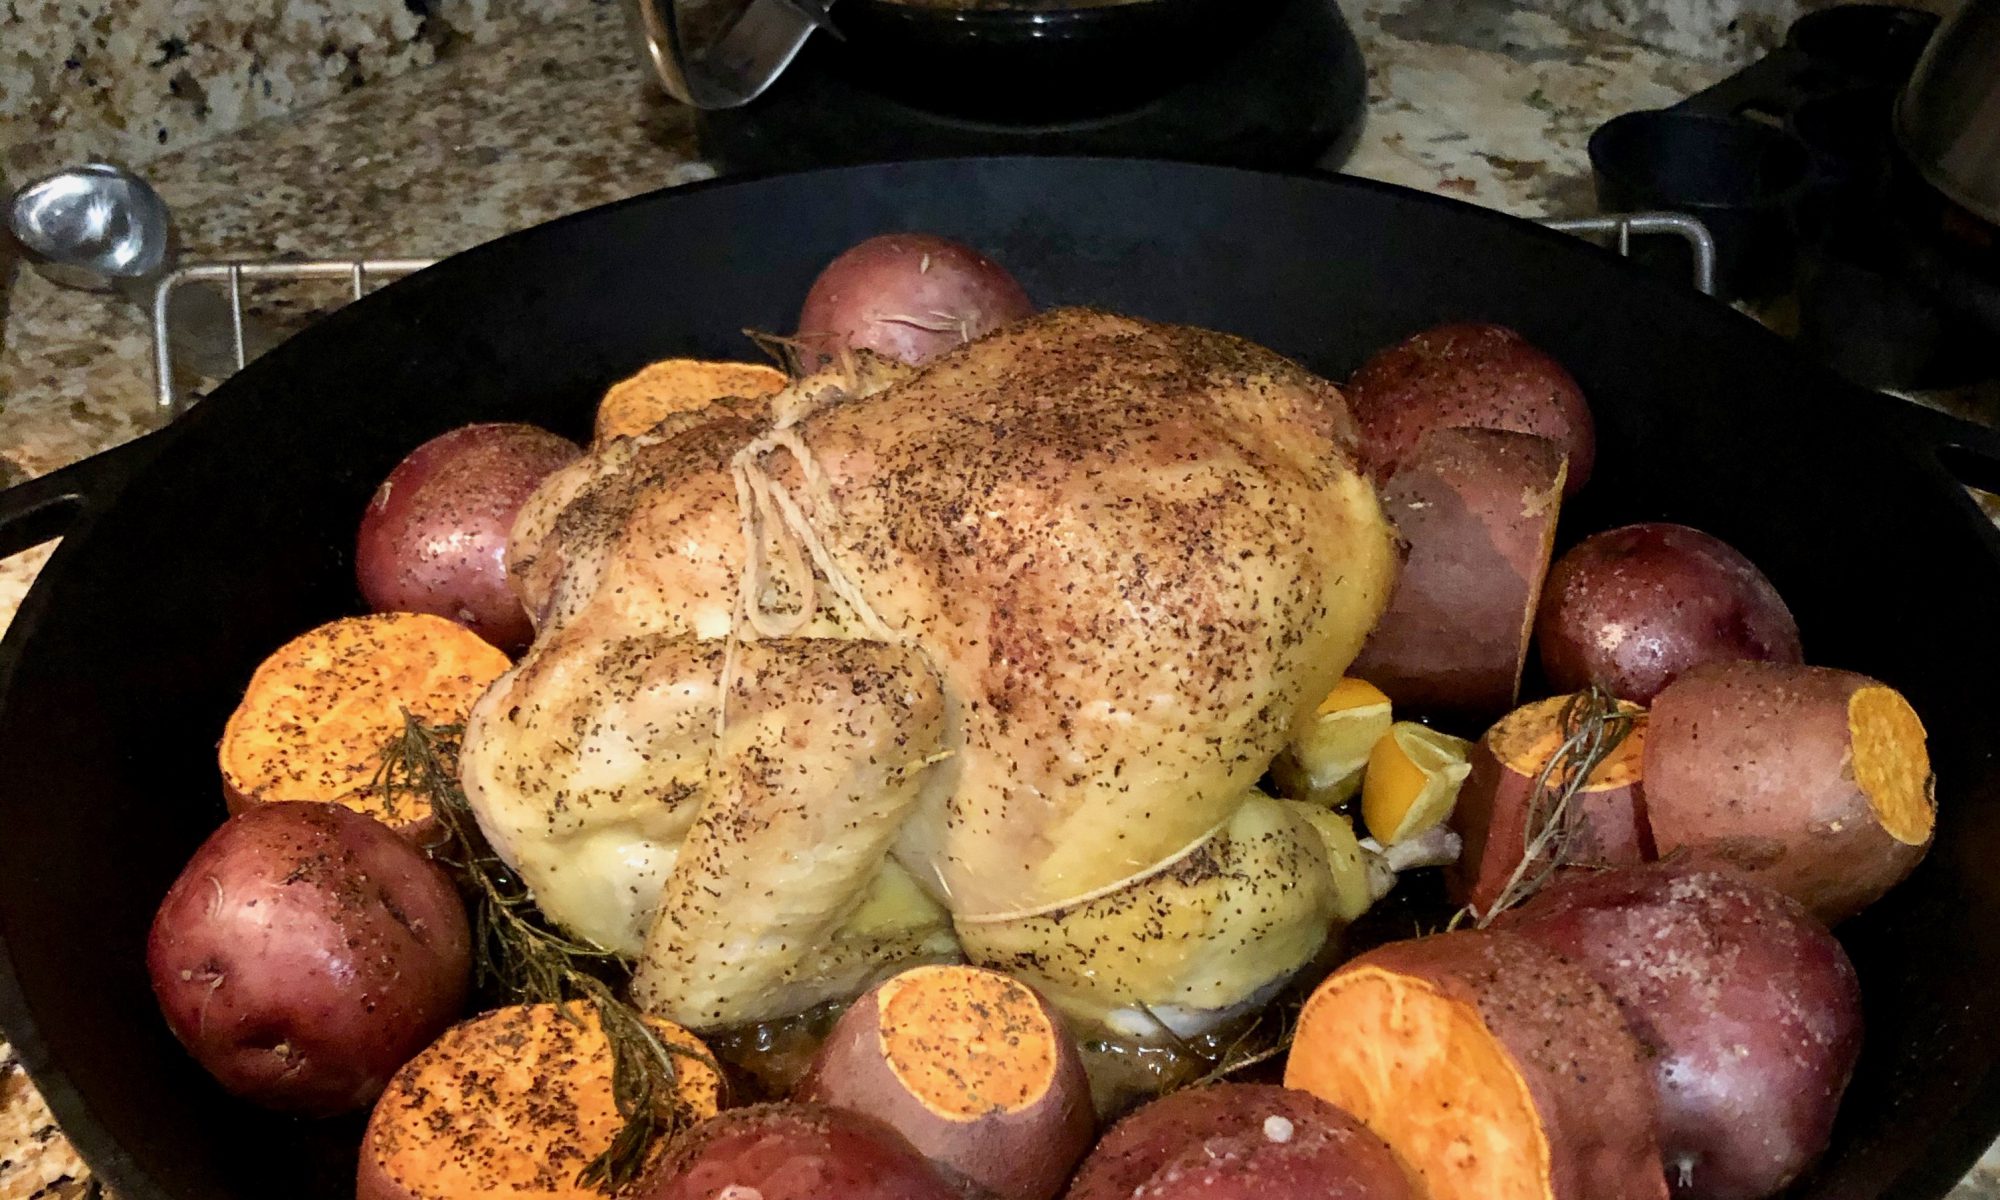
Roasted Whole Chicken
Preheat oven to 425F
(If using a cast iron roasting dish, preheat dish until oven reaches ~325F to avoid smoking whatever delicious seasoning is embedded in your pan from last time.)
Ingredients and Tools:
1 large roasting pan (I love my 16″ round cast iron roasting pan! Plenty of room for vegetables and tubers.)
1 TTF whole chicken, thawed
2 feet trussing string
2-3 T butter
Salt and powdered spices to taste (A farm-favorite savory mix is 1 T cumin, 1-1/2 tsp chili powder, 1 tsp black pepper, and 1/2 tsp garlic powder)
A fistful of fresh herbs (Rosemary, sage, oregano, and basil are staples here.)
1-2 lemons, quartered
3-4 T avocado oil (It can handle high heat like a champ and has a mild flavor that’s great on vegetables. For your health, we recommend avoiding industrial seed oils like canola, peanut, and palm oil.)
Tubers and veggies
(The following is based on 2 pounds small new potatoes or chopped sweet potatoes and 1 pound trimmed Brussels sprouts. Toss in some garlic bulbs – the whole thing, with just the very top cut to expose the cloves.)
Meat thermometer
- Truss and towel-dry thawed bird (Trussing will pull the wings in and minimize overcooking them, as well as pull the legs together to keep all those tasty herbs and spices inside. There are lots of how-to’s online. Be sure to use paper towels to dry the chicken or if using cloth, immediately put it in the laundry after use; poultry prep is one of the easiest ways to spread germs around the kitchen.)
- Fill bird with fresh herbs and lemon pieces.
- Butter the bird (As in, slather that stuff on thick all over the outside of the bird to keep the moisture in and brown the skin nicely. No need for aluminum foil – your brain cells will thank you.)
- Place buttered bird in the middle of your roasting pan (Careful if it’s hot!)
- Fill the space around the bird with potatoes (small ones or 1-1/2 to 2 inch cubed) and garlic bulbs.
- Pour avocado oil over the potatoes.
- Spread seasoning mix over entire pan – chicken and potatoes. Stir potatoes to coat well.
- Place roasting pan in oven once it reaches 425F. Set a timer for 15-20 minutes.
- When timer ends, pull the pan out and quickly stir the potatoes and replace in oven turned 180-degrees for even cooking. Most ovens have minor hotspots. Set timer for another 15-20 minutes.
- Entire cooking time will vary, but expect 1-1/2 to 2 hours. After 45 minutes to an hour, add Brussels sprouts and stir into potatoes and garlic. Add more avocado oil if it seems dry to avoid sticking to the pan.
- Around 1 hour, when stirring vegetables, check the temperature of the bird. Place thermometer as deep into the breast as you can. These birds have unusually, and deliciously, dense breasts so this gives the most accurate reading. Bird is done when internal breast temp reaches 165F.
- Remove bird from oven, leave in pan. Stir the vegetables (or transfer to a serving dish) and let the bird sit ten minutes or so. At this point, you can cover loosely with a glass or metal bowl or colander to keep warm.
- Serve. 4-1/2 to 5-1/2 pound bird provides 3-4 pounds of meat, depending on the bird.
Pressure Cooker Shredded Chicken
A 4-1/2 pound whole bird should fit nicely in a 6-quart pressure cooker, resting on top of the steaming tray.
Ingredients and Tools:
Pressure cooker of your choice.
1 TTF whole chicken, thawed
Spice mix (Another farm-favorite is oregano, cumin, sage, smoked paprika, garlic, salt, and pepper)
1-1/2 to 2 cups chicken bone broth (see recipe below) or water
That’s it. Seriously.
- Optional: Brown outside of whole chicken (This is a nice touch, but not necessary for great flavor.)
- Place steam tray in bottom of pressure cooker.
- Add broth or water to bottom of pot.
- Place whole chicken back-up on tray.
- Spice it up.
- Put together your pressure cooker.
- Cook on high 32 minutes.
- The chicken will fall off the bones; be sure to carefully check the meat for bones and other pieces before serving.
And then….
Easy Bone Broth
Three hours in the pressure cooker instead of twenty-four in the crock pot! Now that’s an efficient use of tools!
Ingredients and Tools:
Pressure cooker of your choice.
1-2 TTF chicken carcass(es)
(Note: You can do a whole chicken, but not with this recipe. The meat gets in the way of pulling the nutrients out of the bones and it won’t cook properly. Let me know if you’d like to discuss ideas.)
1/2 pound carrots, cut largely, no need to peel (baby carrots work fine)
3/4 cup apple cider vinegar
1-2 T Himalayan sea salt (or whatever you have handy)
Clean water
- Place chicken bones, skin, ligaments, whatever is leftover (not the now-cooked fresh herbs from roasting) in the pressure cooker pot.
- Optional: Add spices. (There will be flavor from previous cooking time, so don’t overdo it unless that’s what your final use of the broth calls for.)
- Add carrots, vinegar, and salt to pot.
- Fill with clean water to the max pressure cooker line.
- Put together your pressure cooker.
- Pressure cook on high for 2 hours and 30 minutes.
- Strain, cool, and save. If freezing in jars, leave 1″ room from top, lay lid on jar opening (no ring), and let it cool in the fridge before transferring to the freezer. Freezing expands the broth and will bust through a sealed jar.
Two carcasses will make concentrated bone broth, so if that’s what you prefer, you can always cut the ingredients (including water) in half for only one carcass. Same cook time.
Now what?
You might be wondering what to do with all of that delicious broth… aside from warming it up and drinking it, there are many delicious uses:
- Soup base
- Use in place of or as part of cooking water for rice, beans, lentils, pasta, couscous, buckwheat groats, polenta, risotto, you name it. Boosts flavor, texture, and protein content!
- Dehydrate broth for bullion – there are tutorials online and I’d love to hear what worked for you. We haven’t done this yet, but when the freezer’s full, we might have to!
Now, what about all those bones? You said I could use the whole bird!
Dog and Cat food – Chow Time!
Ever wonder what’s in your canine and feline family members’ food? Yeah, us too. Desiring to offer them a farm-fresh, savory treat to go with the kibble? Would you like to increase their protein intake since, you know, they’re scaveging carnivores by nature?
After you make broth in a pressure cooker (must be pressure-cooked) and let the carcass cool, if you can squish those bones between your fingers to a pulp, you’ve got domesticated friend food.
If they don’t squish easily, do the pressure-cooked broth run one more time and try again. This will not work properly if there is a lot of meat on the bones.
Please don’t feed your furry or non-furry friends bones that don’t turn to mush easily between your fingertips. Hard chicken bones are sharp enough to make slices throughout the digestive tract and that’s really bad!
Mash up with an old-school potato masher or put through a meat grinder. It shouldn’t take much effort. Serve delighted recipients.
P.S. (!!) If your furry family member is on a special diet or you’re concerned about their nutrient intake and variety, don’t hesitate to talk to your vet or animal nutritionist before making any changes to their diet. We are not veterinarians, we’ve just done some research and know what our fur babies love and thrive on from trial and error.
